[toc]
Latex学习笔记
Latex文档语法
教程地址:https://www.overleaf.com/learn/latex/Learn_LaTeX_in_30_minutes
class
文档基本元素:
1 | % 文档类型通过\documentclass{}进行设置 |
写论文的话,可以从期刊官网下载模板,在模板的基础上进行修改,添加自己的内容。
preamble
指的是\begin{document}之前的所有内容,用于指定文档字符编码、导入使用的包等等。
1 | % 12pt是指字体大小,a4paper是指纸张大小 |
标题、作者、日期
在preamble中添加。文章标题不能有下划线。
1 | \documentclass[12pt, a4paper]{article} |
显示标题信息,在body中添加\maketitle:
1 | \begin{document} |
添加注释
1 | % %为注释符号 |
粗体、斜体、下划线
1 | % 粗体 |
强调:使用\emph命令的文本会变为斜体,如果原文本已经是斜体,则使用该命令的文本变为正体。
注意:有些包如Beamer,会改变\emph的行为。
插入图片
1 | % 1. 导包 |
注意:图片文件名可加后缀名,也可不加,建议使用小写字母,不能有空格和多个点。
图片说明,标签与引用
Note: If you are using captions and references on your own computer, you will have to compile the document twice for the references to work.
1 | \begin{figure}[h] % h即here,表示在当前位置插入图片 |
1 | % 在twocolumn页面格式中将图片占用两列显示 |
表格
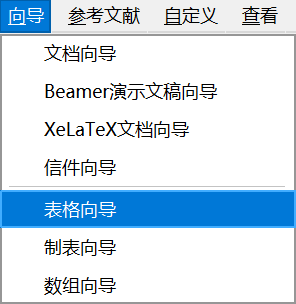
直接使用TexMaker自带的表格向导就好了。
table与tabular的关系:和figure与\includegraphics的关系类似,figure包含\includegraphics,table包含tabular。figure和table都可以添加caption和label。
Note: If you are using captions and references on your own computer, you will have to compile the document twice for the references to work.
无序列表
1 | \begin{itemize} |
有序列表
1 | \begin{enumerate} |
数学公式
1 | % inline |
基本排版
摘要
1 | \begin{abstract} |
段落
1 | % 双回车生成新段落 |
章节和小节
Note that
\partand\chapterare only available in report and book document classes.
1 | % Numbered section |
目录
1 | \tabelofcontents % 可放置在\begin{document}的下方 |
MikTex与TexMaker的安装与使用
安装MikTex
Tex教程:https://texfaq.org/
Overleaf的Latex教程:https://www.overleaf.com/learn/latex/Tutorials
TexMaker的使用
官网:https://www.xm1math.net/texmaker/index.html
下载:https://www.xm1math.net/texmaker/download.html
文档:https://www.xm1math.net/texmaker/doc.html
1. 配置
1.1 配置字符集编码
Before compiling your first document, you must set the encoding used by the editor (“Configure Texmaker” -> “Editor” -> “Editor Font Encoding”). Then, you should use the same encoding in the preamble of yours TeX documents.
1.2 配置Latex相关命令
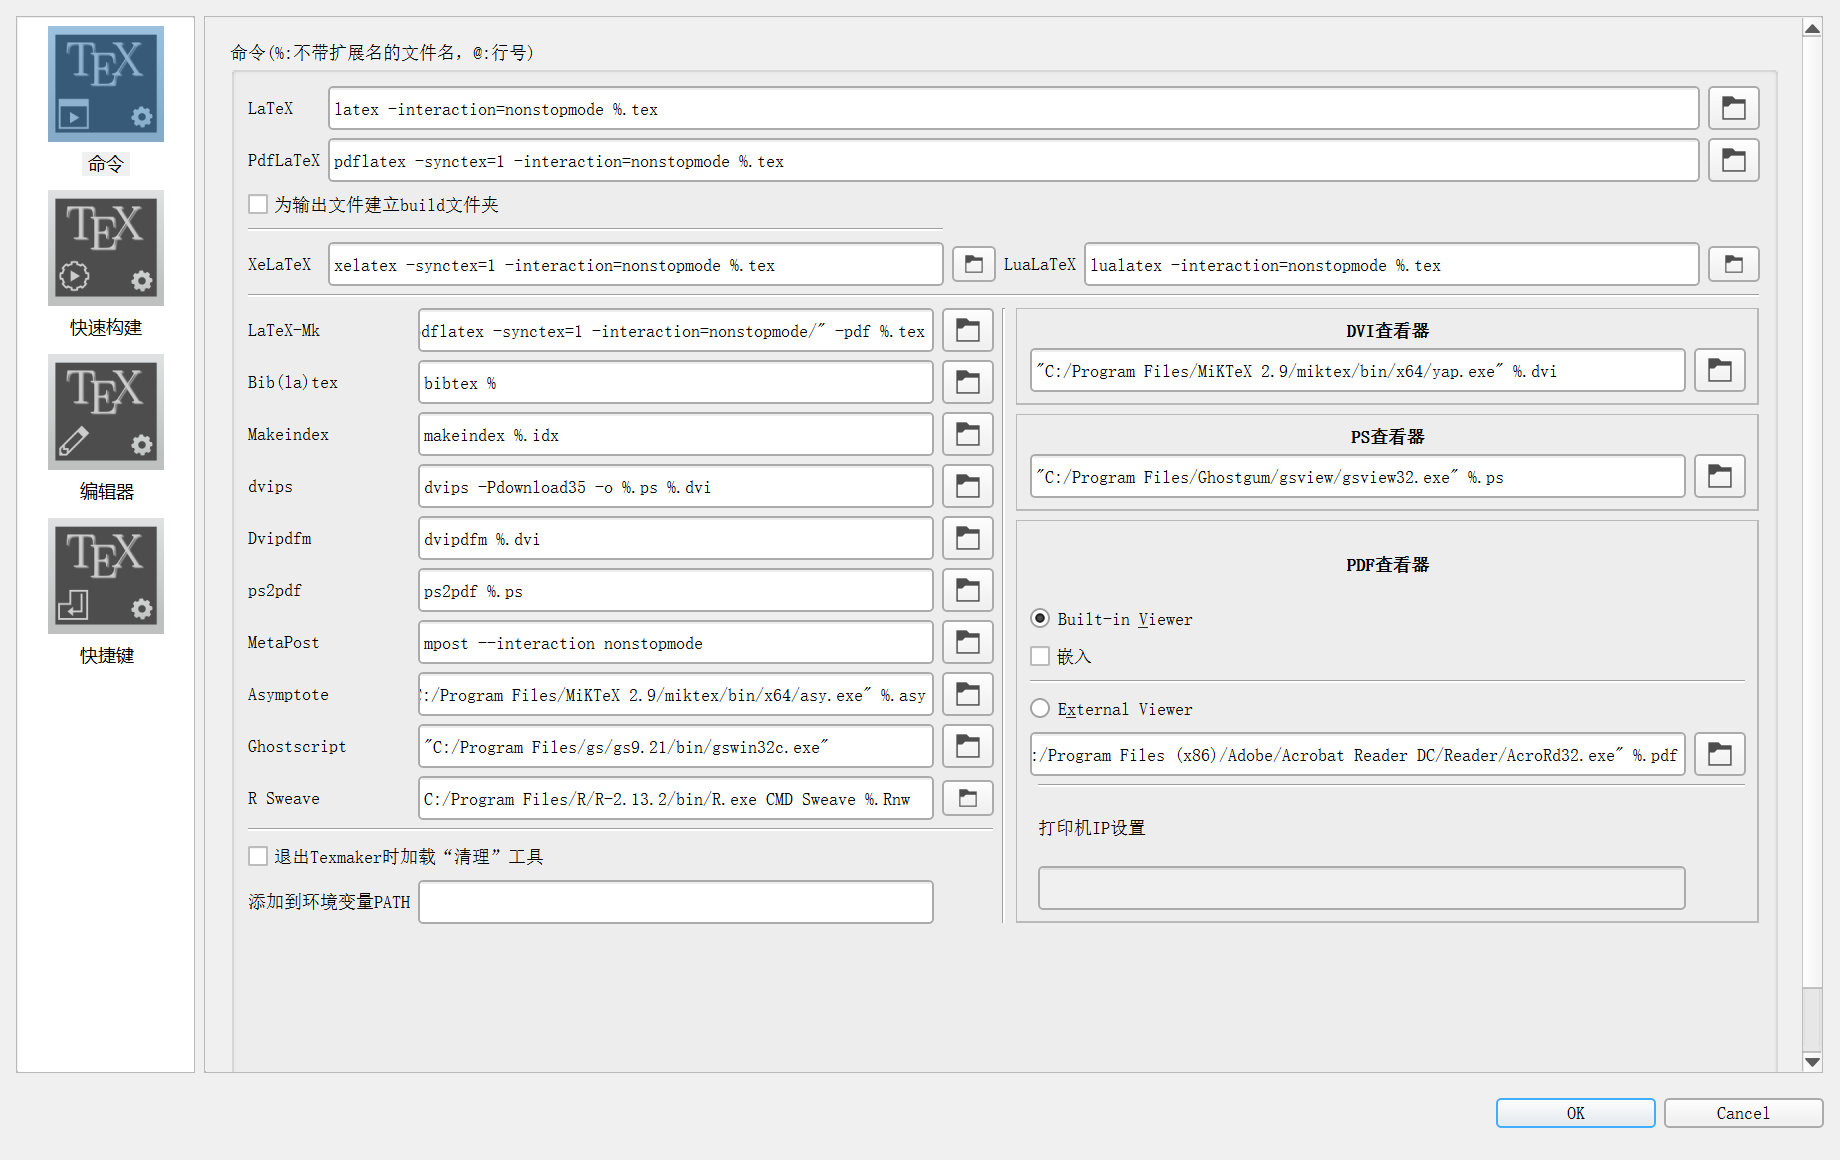
1.3 配置拼写检查
To configure the spell checker : “Configure Texmaker” -> “Editor” -> “Spelling dictionary” -> click on the button at the end of the line to select the dictionary with the file browser
During typing, if there is an error, the word is underlined by a red underline. A right-click on the word opens a contextual menu in which there are some replacement suggestions. Click on the desired word to make the replacement
Tips: 鼠标右击拼写错误的单词,会有修改提示。
2. 编辑
2.1 快速文档向导
To define the preamble of your document, you can use the “Quick start” wizard (“Wizard” menu)
2.2 结构化文档

点击该图标添加章节,子章节……
2.3 最多三个书签,单击行号添加


2.4 格式化文本


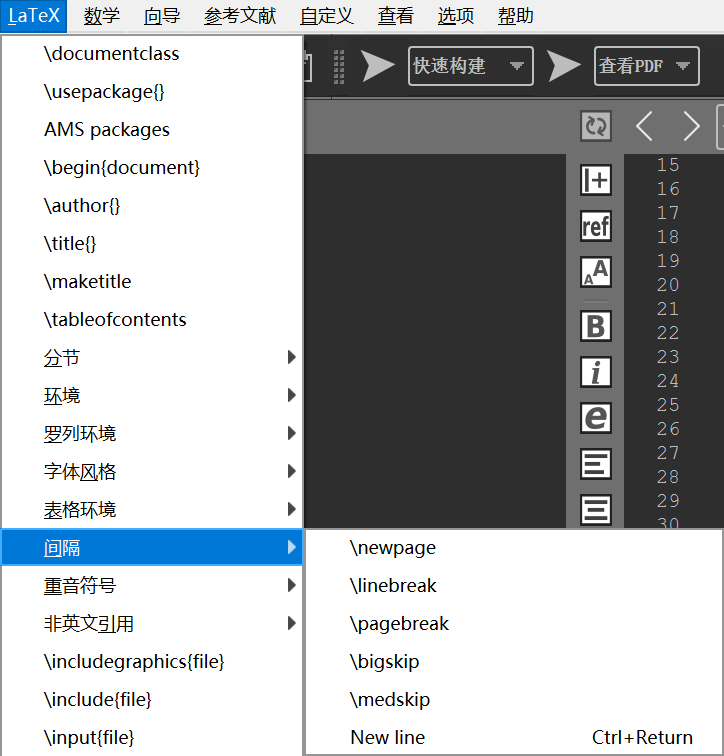
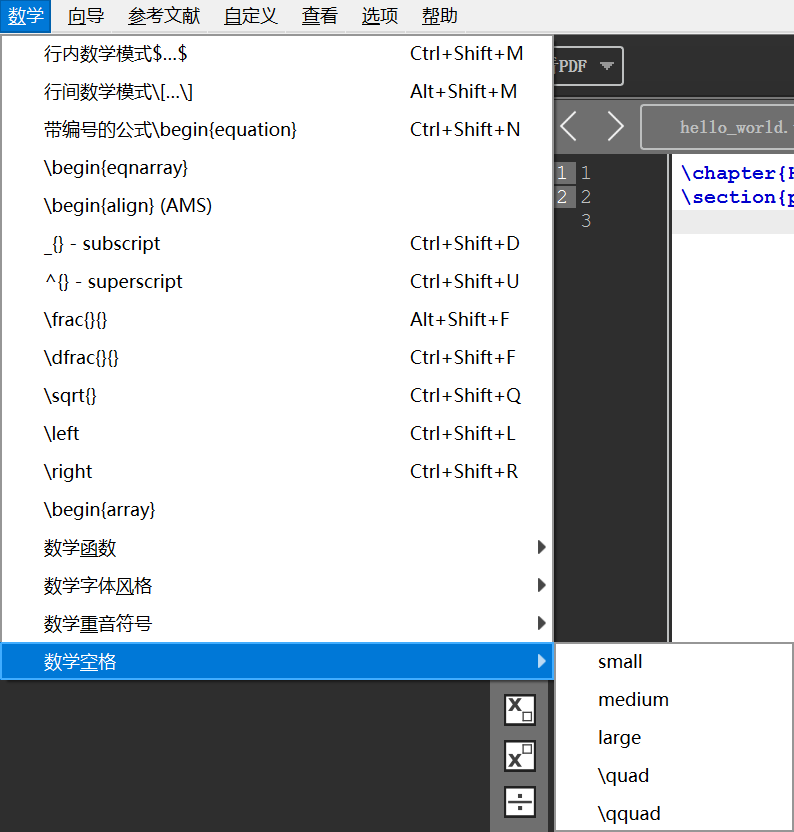
2.5 空格
文本:
数学:
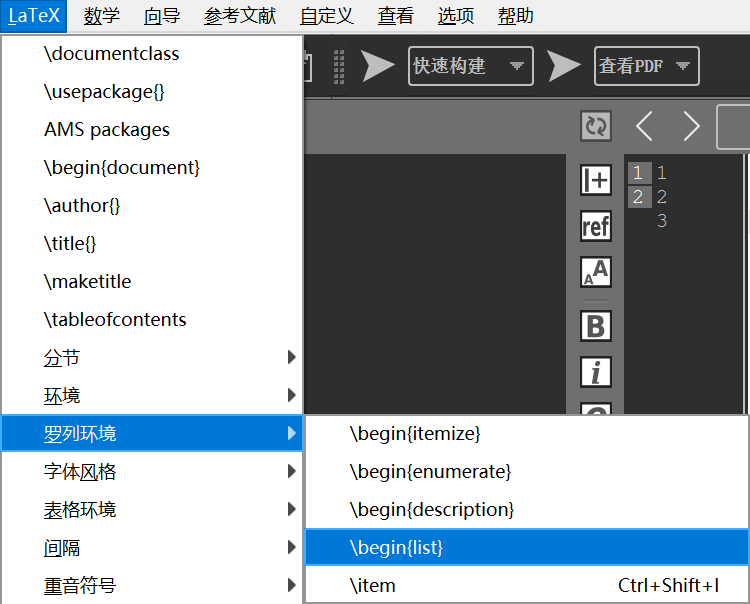
2.6 插入列表
2.7 插入表格
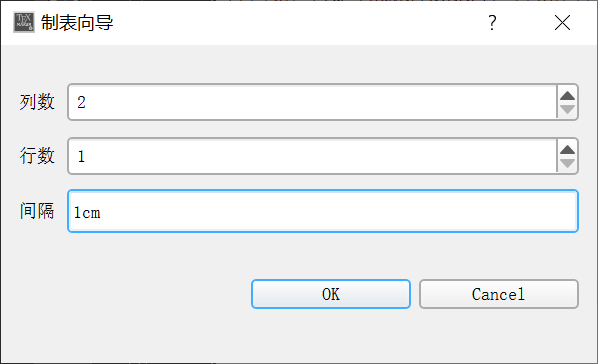
2.8 插入制表符
To help you to insert a “tabbing” code, you can use the “Tabbing” wizard (“Wizard” menu)
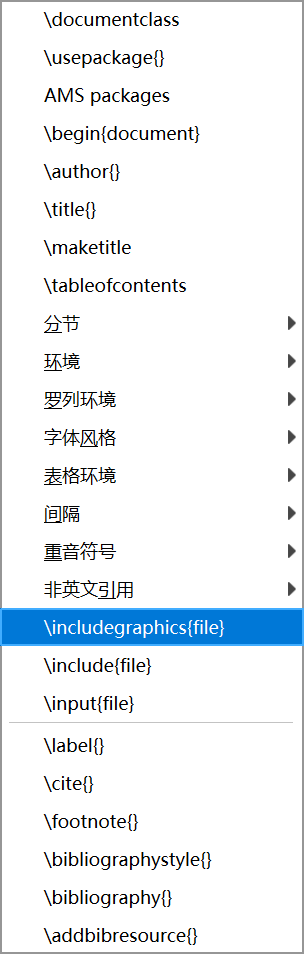
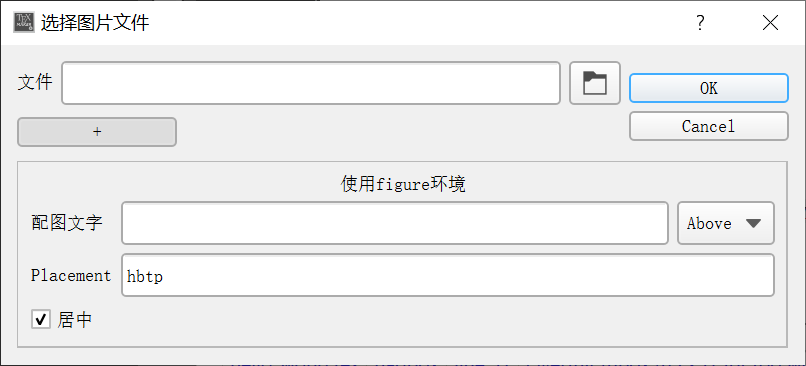
2.9 插入图片
1 | \usepackage[pdftex]{graphicx} |
2.10 引用和备注

2.11 常用数学符号

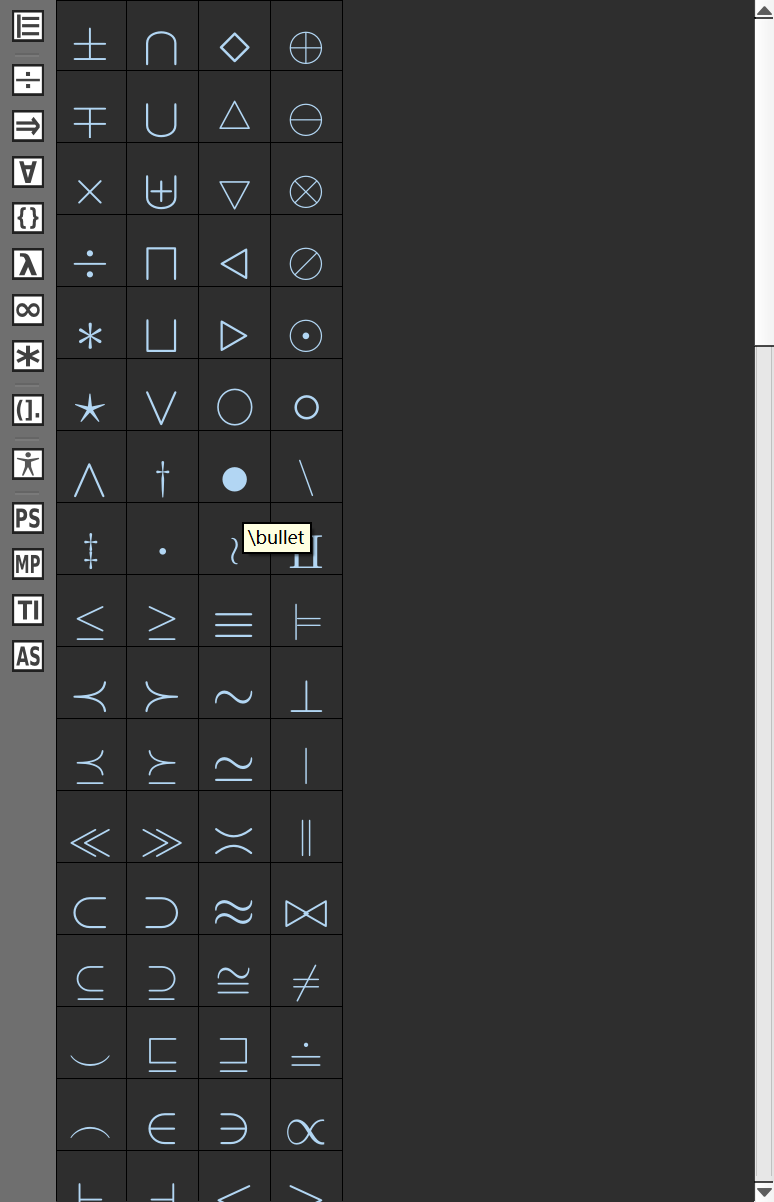
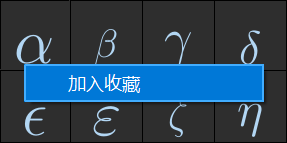
收藏的符号:

右键加入收藏:
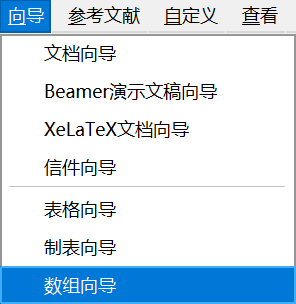
快速插入数组、矩阵:
2.12 占位符
Tip:使用Tab键可以切换字段。
3. 编译文档
3.1 编译

注意:必须要有文件名,文件名不能有空格。
3.2 清除生成的中间文件
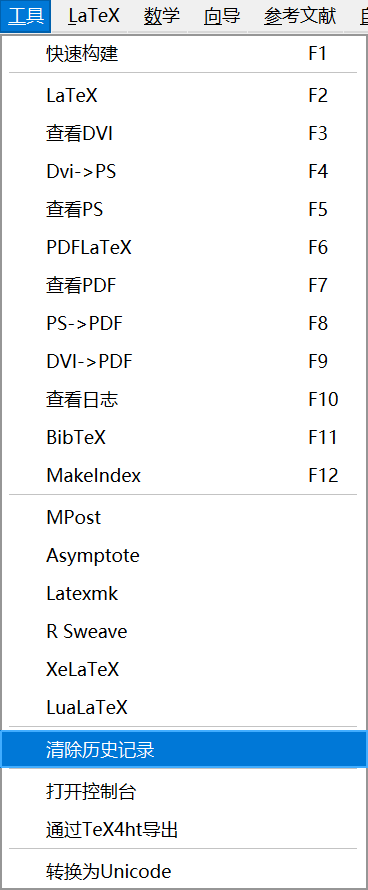
3.3 同步PDF
If you add the “-synctex=1” option to the pdflatex command, the built-in pdf viewer will jump directly to the position in the PDF file that corresponds to the current line in the (La)TeX source file.
Reciprocally, with a right-clic on a word in the built-in pdf viewer (context menu), the editor will jump to the corresponding line in the source file.
4. 其他特性
4.1 参考文献
步骤:先编译tex文件,再用bibtex编译tex文件,最后再编译tex文件。如果因为DOI编译不通过,尝试对下划线进行转义。
Note: the optional fields can be automatically deleted with the “Clean” command of the “Bibliography” menu.
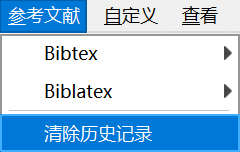
插入示例:
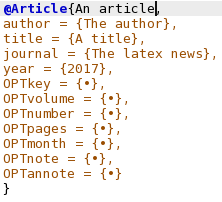
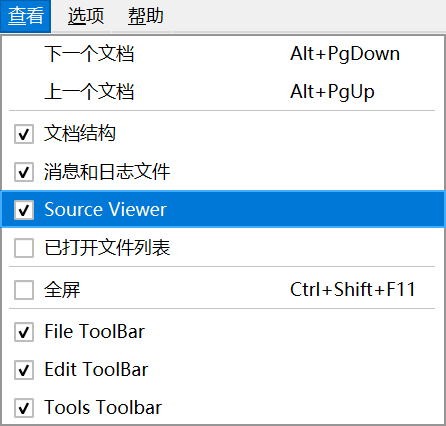
4.2 Source Viewer
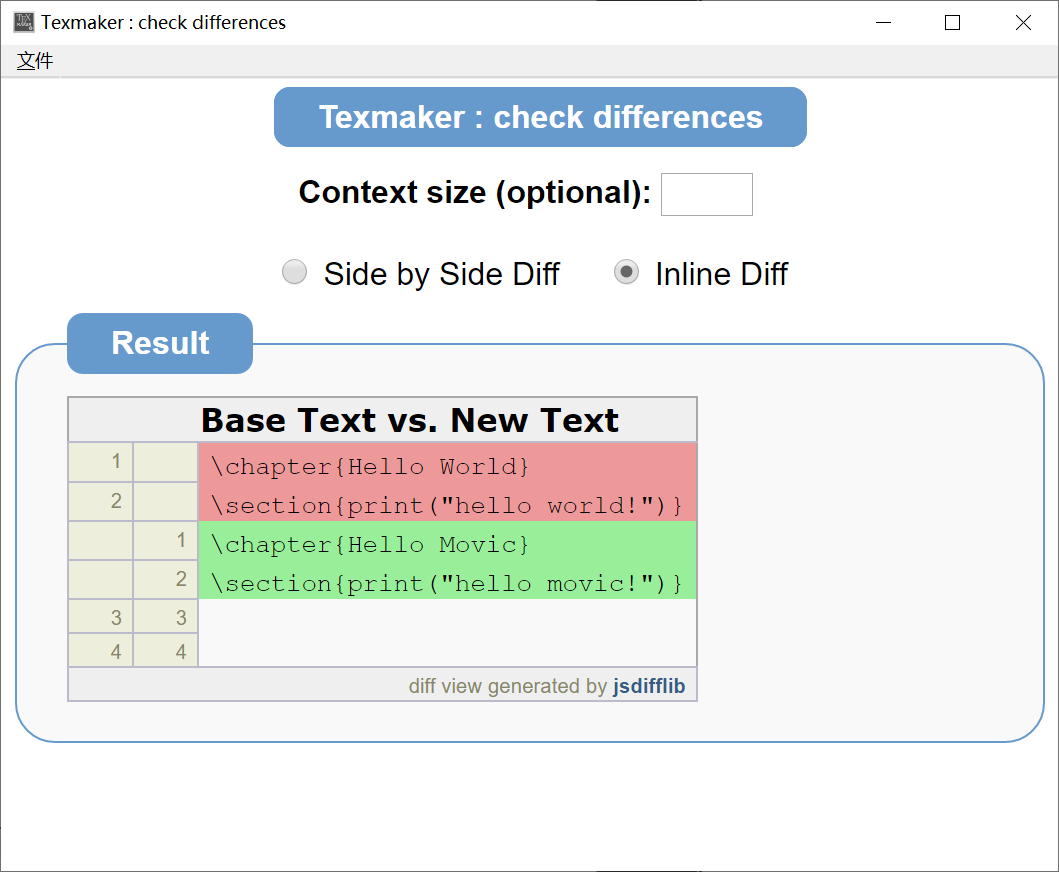
文档差异对比(挺实用的):
使用方式:点击左侧图标打开一个对比文件,点击右侧图标查看差异:

第三方差异高亮工具git-latexdiff的安装与使用
下载链接:https://gitlab.com/git-latexdiff/git-latexdiff
需要注意的点是:
On Windows
Windows users are likely to be using this tool inside the so-called “Git Bash for Windows” environment which is included in Git for Windows.
In this environment, the provided version of perl might be unable to run
latexdiff. You can install a different perl distribution, for instance Strawberry Perl. Then, you must put Strawberry Perl’s folders before anything else in yourPATHand runlatexdiffandgit-latexdiff.Such a change could interfere with the tools in the “Git Bash for Windows” environment, so the
PATHchange should be restricted to uses oflatexdiff.
我看不懂Windows安装脚本,里面有关于获取权限的代码,不知是否安全,可以只复制最后一句代码,然后用管理员模式运行。
1 | :::::::::::::::::::::::::::: |
如果使用Git的过程中发现出现异常,则把Perl的环境变量移动到最底下。
git-latexdiff使用的注意事项:
git-latexdiff不需要提供两份(新旧)对比的工程文件,只需要指定Git的版本标签,使得可以跟Git无缝衔接;- 记得指定输出临时目录
--tmpdirprefix,不然输出结果很难找; --cleanup设置为none,用于保留输出结果;- 指定
-b参数可以顺带走完文献引用流程; - 标准命令:
1 | git latexdiff HEAD -- --main bare_jrnl.tex -b --cleanup none --tmpdirprefix ./latexdiff |
- 表格
multirow使用习惯从\multirow{5}*改为\multirow{5}{*}